DIY Preppy Coastal Oyster Art
Missing Summer HARD in this household so I decided to make some cutie little coastal art to give me a little warm weather vibe

I have been following @shellsofsouthie for awhile now because I love her painted shells. They are gorgeous and give off the perfect coastal preppy vibe. I knew I wanted them in my house somewhere so I came up with a fun way to display them!

Shells of Southie’s beautiful pink painted oyster shells!

These are the materials I used:
2 6x8 inch canvas boards I found at target for $1.00
Painters tape
Rub ‘n Buff in “antique gold”
Paint sample in “very black” which is actually a really dark navy
The prettiest little oyster shells

First I taped off the edges and painted on the rub ‘n buff

Once that was dry I taped off the gold edges, so I could paint my main background color

Valspar- Very Black- this is the background color I chose. I have it in my bedroom and it looks great with gold
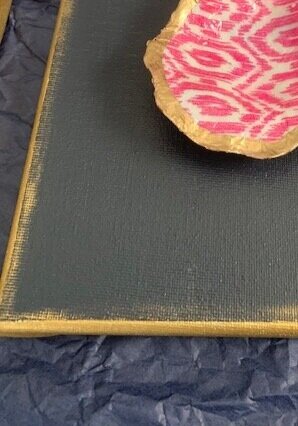
Then I took a veryyyy small amount of rub n buff and lightly brushed the edges so it was less a harsh line between the 2 colors. I think it gives it a little bit of an aged antique look

Last step was using a hot glue gun to secure them to the canvas!


